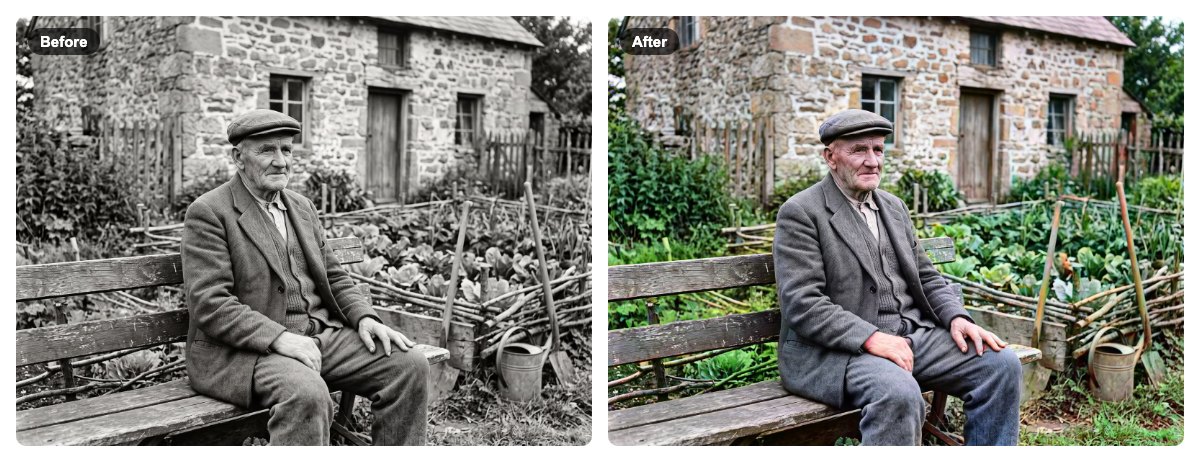
The tool is Colorize Photo. It runs entirely on your device: your picture is never uploaded to any server. The only thing downloaded is the open-source AI model (about 129 MB, once — your browser keeps it for next time).
You need a black and white photo (JPG, PNG or WebP) and a modern browser such as Chrome, Edge or Safari. A computer works best; the model needs some memory.
1Open the tool
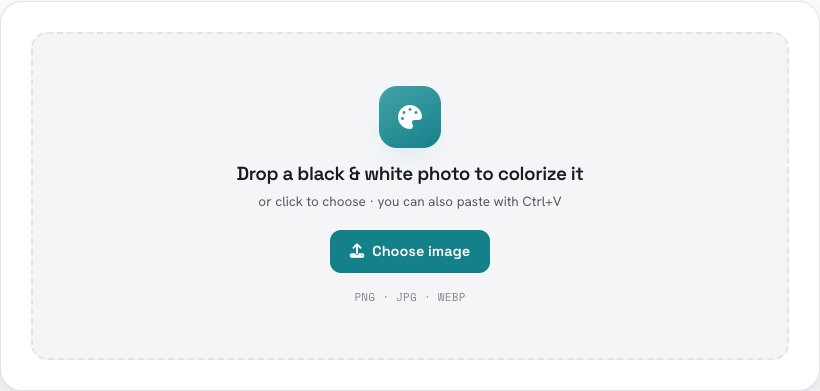
Go to Colorize Photo. You will see a drop area. There is no account to create and nothing to install.
2Add your photo
Drag the photo onto the drop area, click it to choose a file, or paste an image with Ctrl+V (Cmd+V on a Mac). Very large images are reduced to 4096 pixels on the longest side, which is plenty.
Scans work fine. If your scan has a yellow or sepia tint, the tool only uses its brightness, so the tint does not matter.
3Press “Colorize photo”
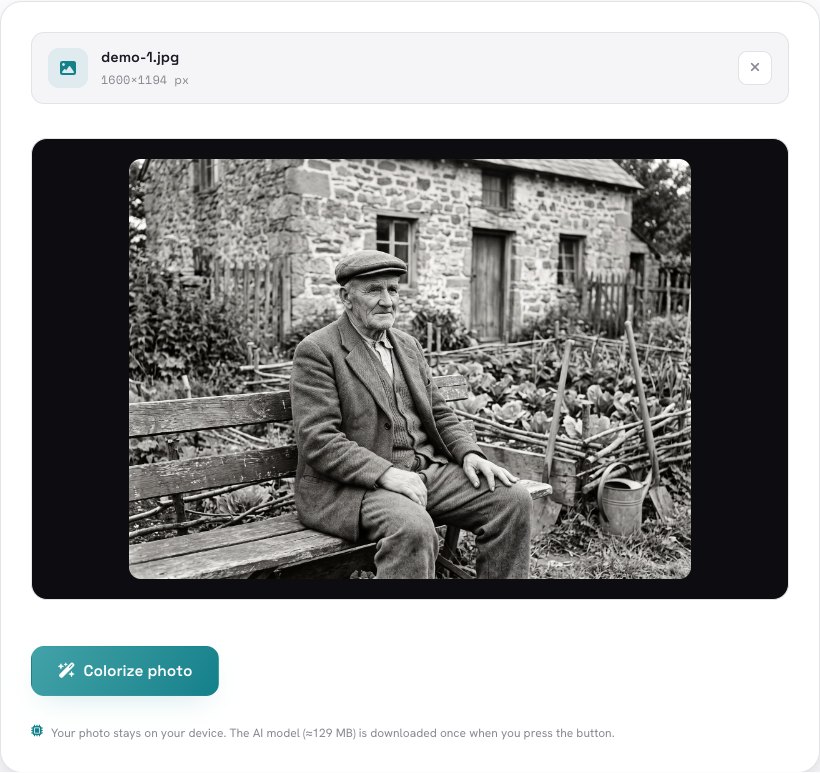
Click the button. The first time, your browser downloads the AI model (about 129 MB) and a progress bar shows how far it is. Later runs skip the download and start straight away.
The result usually appears within a few seconds to half a minute, depending on your computer. While it works, keep the tab open.
4Adjust the color strength
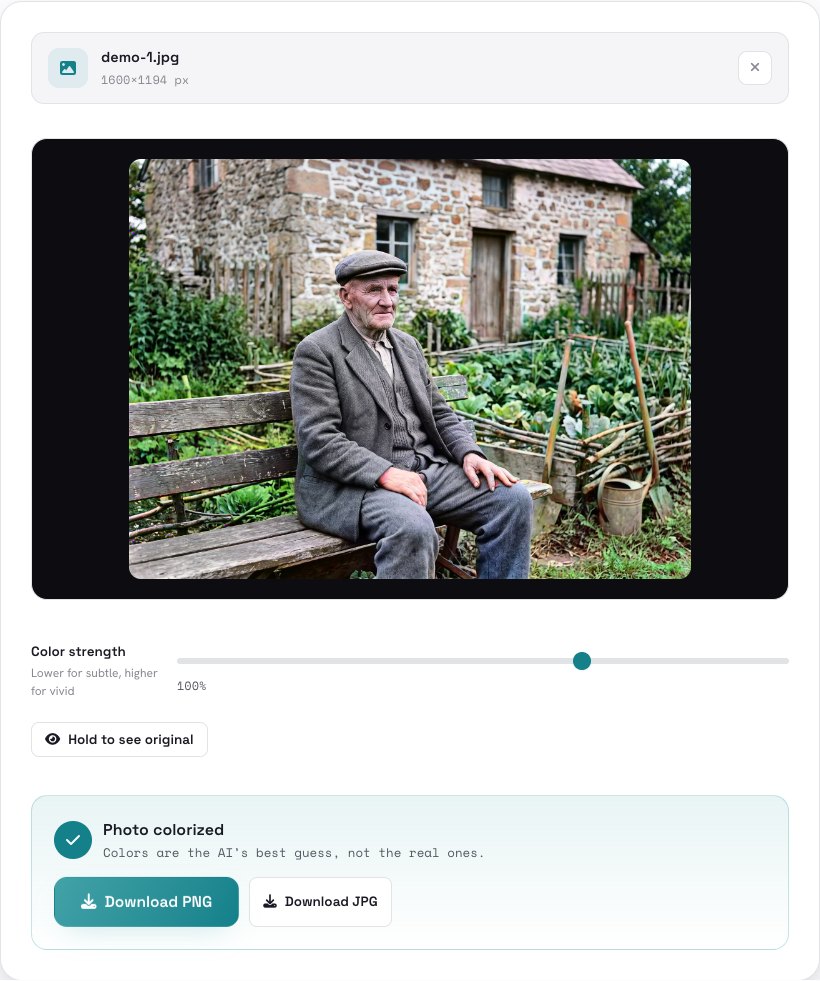
The Color strength slider goes from 0 to 150%. Lower it for a soft, natural tint; raise it for punchier colors. Hold the Hold to see original button to flip back to the black and white photo and compare.
The AI decides the colors at a lower internal resolution and then applies them to your photo’s full-resolution brightness, so detail and sharpness are kept.
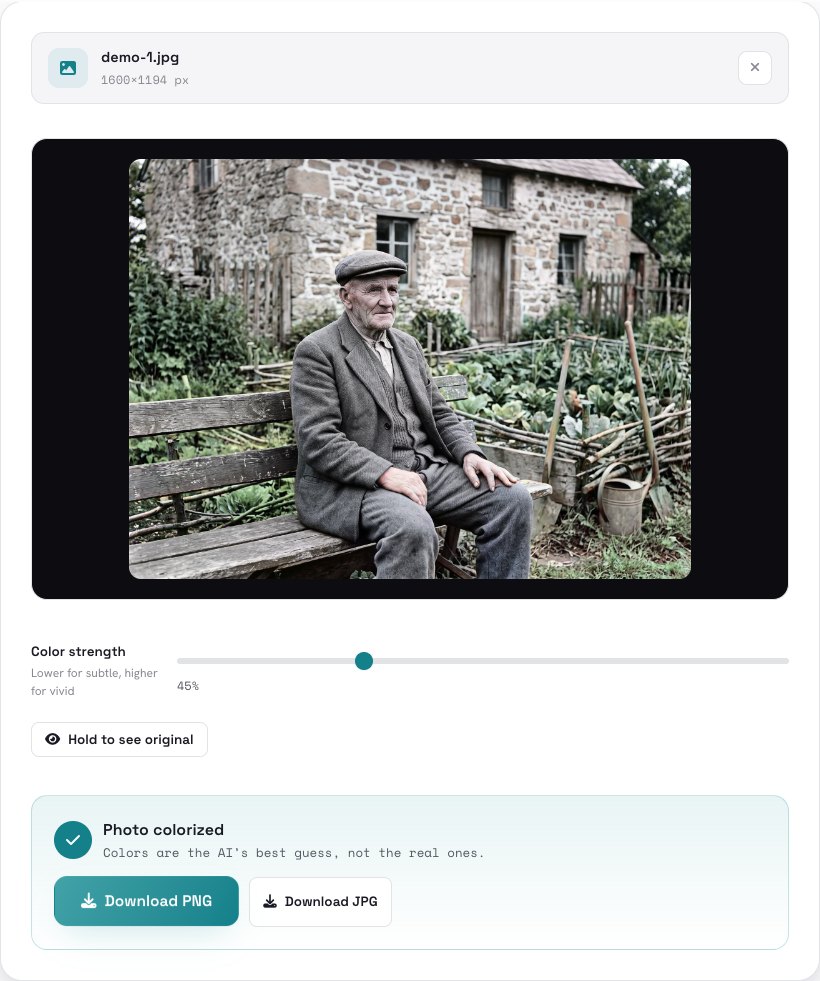
5Download the result
Choose Download PNG for the best quality, or Download JPG for a smaller file. That’s it — the file goes straight to your device.
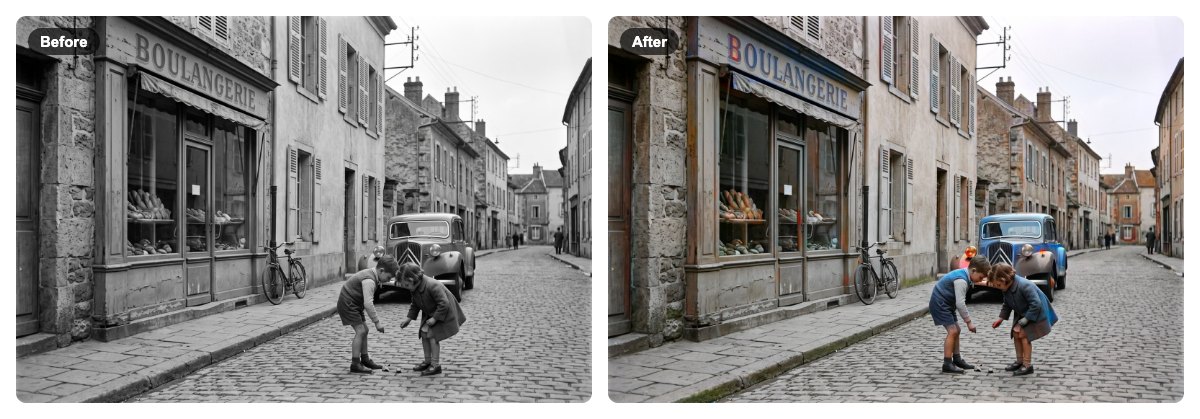
Tips for better results
- Start with the best scan you have. Sharp, well-exposed photos of people, landscapes and buildings colorize most naturally. Very dark, blurry or badly damaged scans are harder.
- Remember the colors are a guess. A black and white photo contains no color information, so a dress, a car or a wall can come out in a different color than in real life. Treat the result as an interpretation, not a historical record.
- Fix damage first. Scratches, dust and fading are better repaired in a photo editor before colorizing.
- Try a lower strength for faces. If skin looks too red or too orange, drop the slider to 60–80%.
- Already a color photo? It works, but the original colors are thrown away: only the brightness is kept and new colors are painted on.
Ready to bring an old photo to life? It takes about a minute and nothing leaves your device.
Open Colorize Photo →Frequently asked questions
Is it really free?
Is my photo uploaded?
Why does the first run take longer?
Are the colors accurate?
Can I colorize several photos?
What formats can I upload and download?
The example photos in this guide are AI-generated. The colorizing is done by DDColor (Apache-2.0), an open-source model that runs in your browser.